
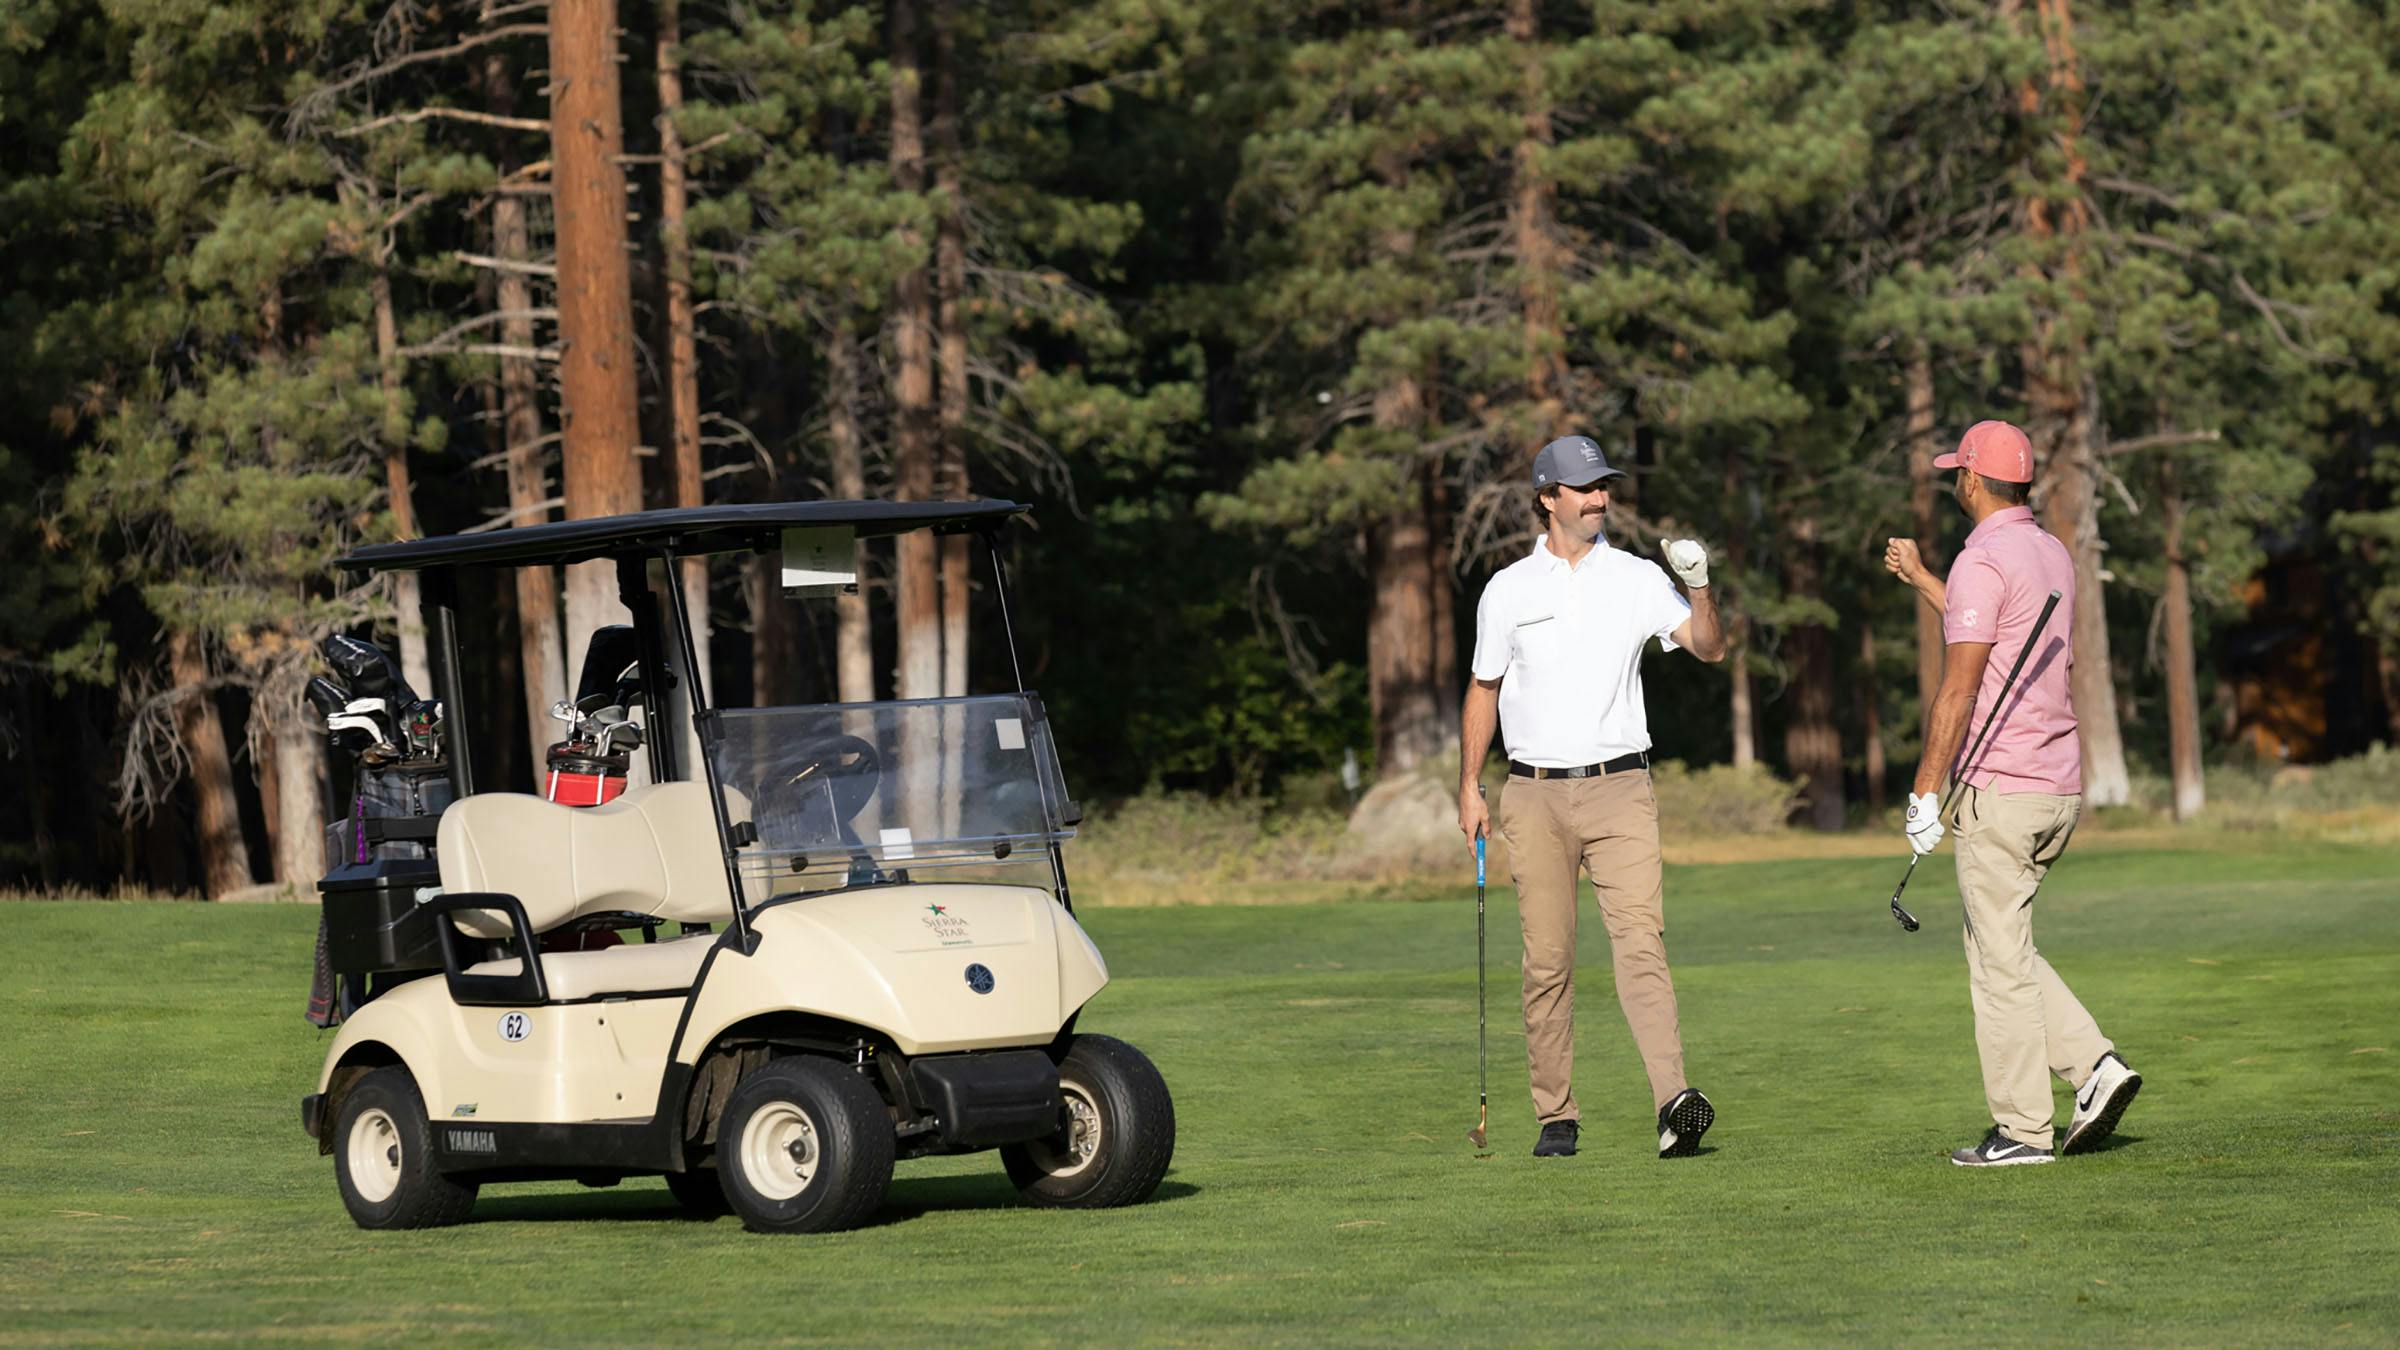
Sierra Star Golf Course
Elevate Your Game
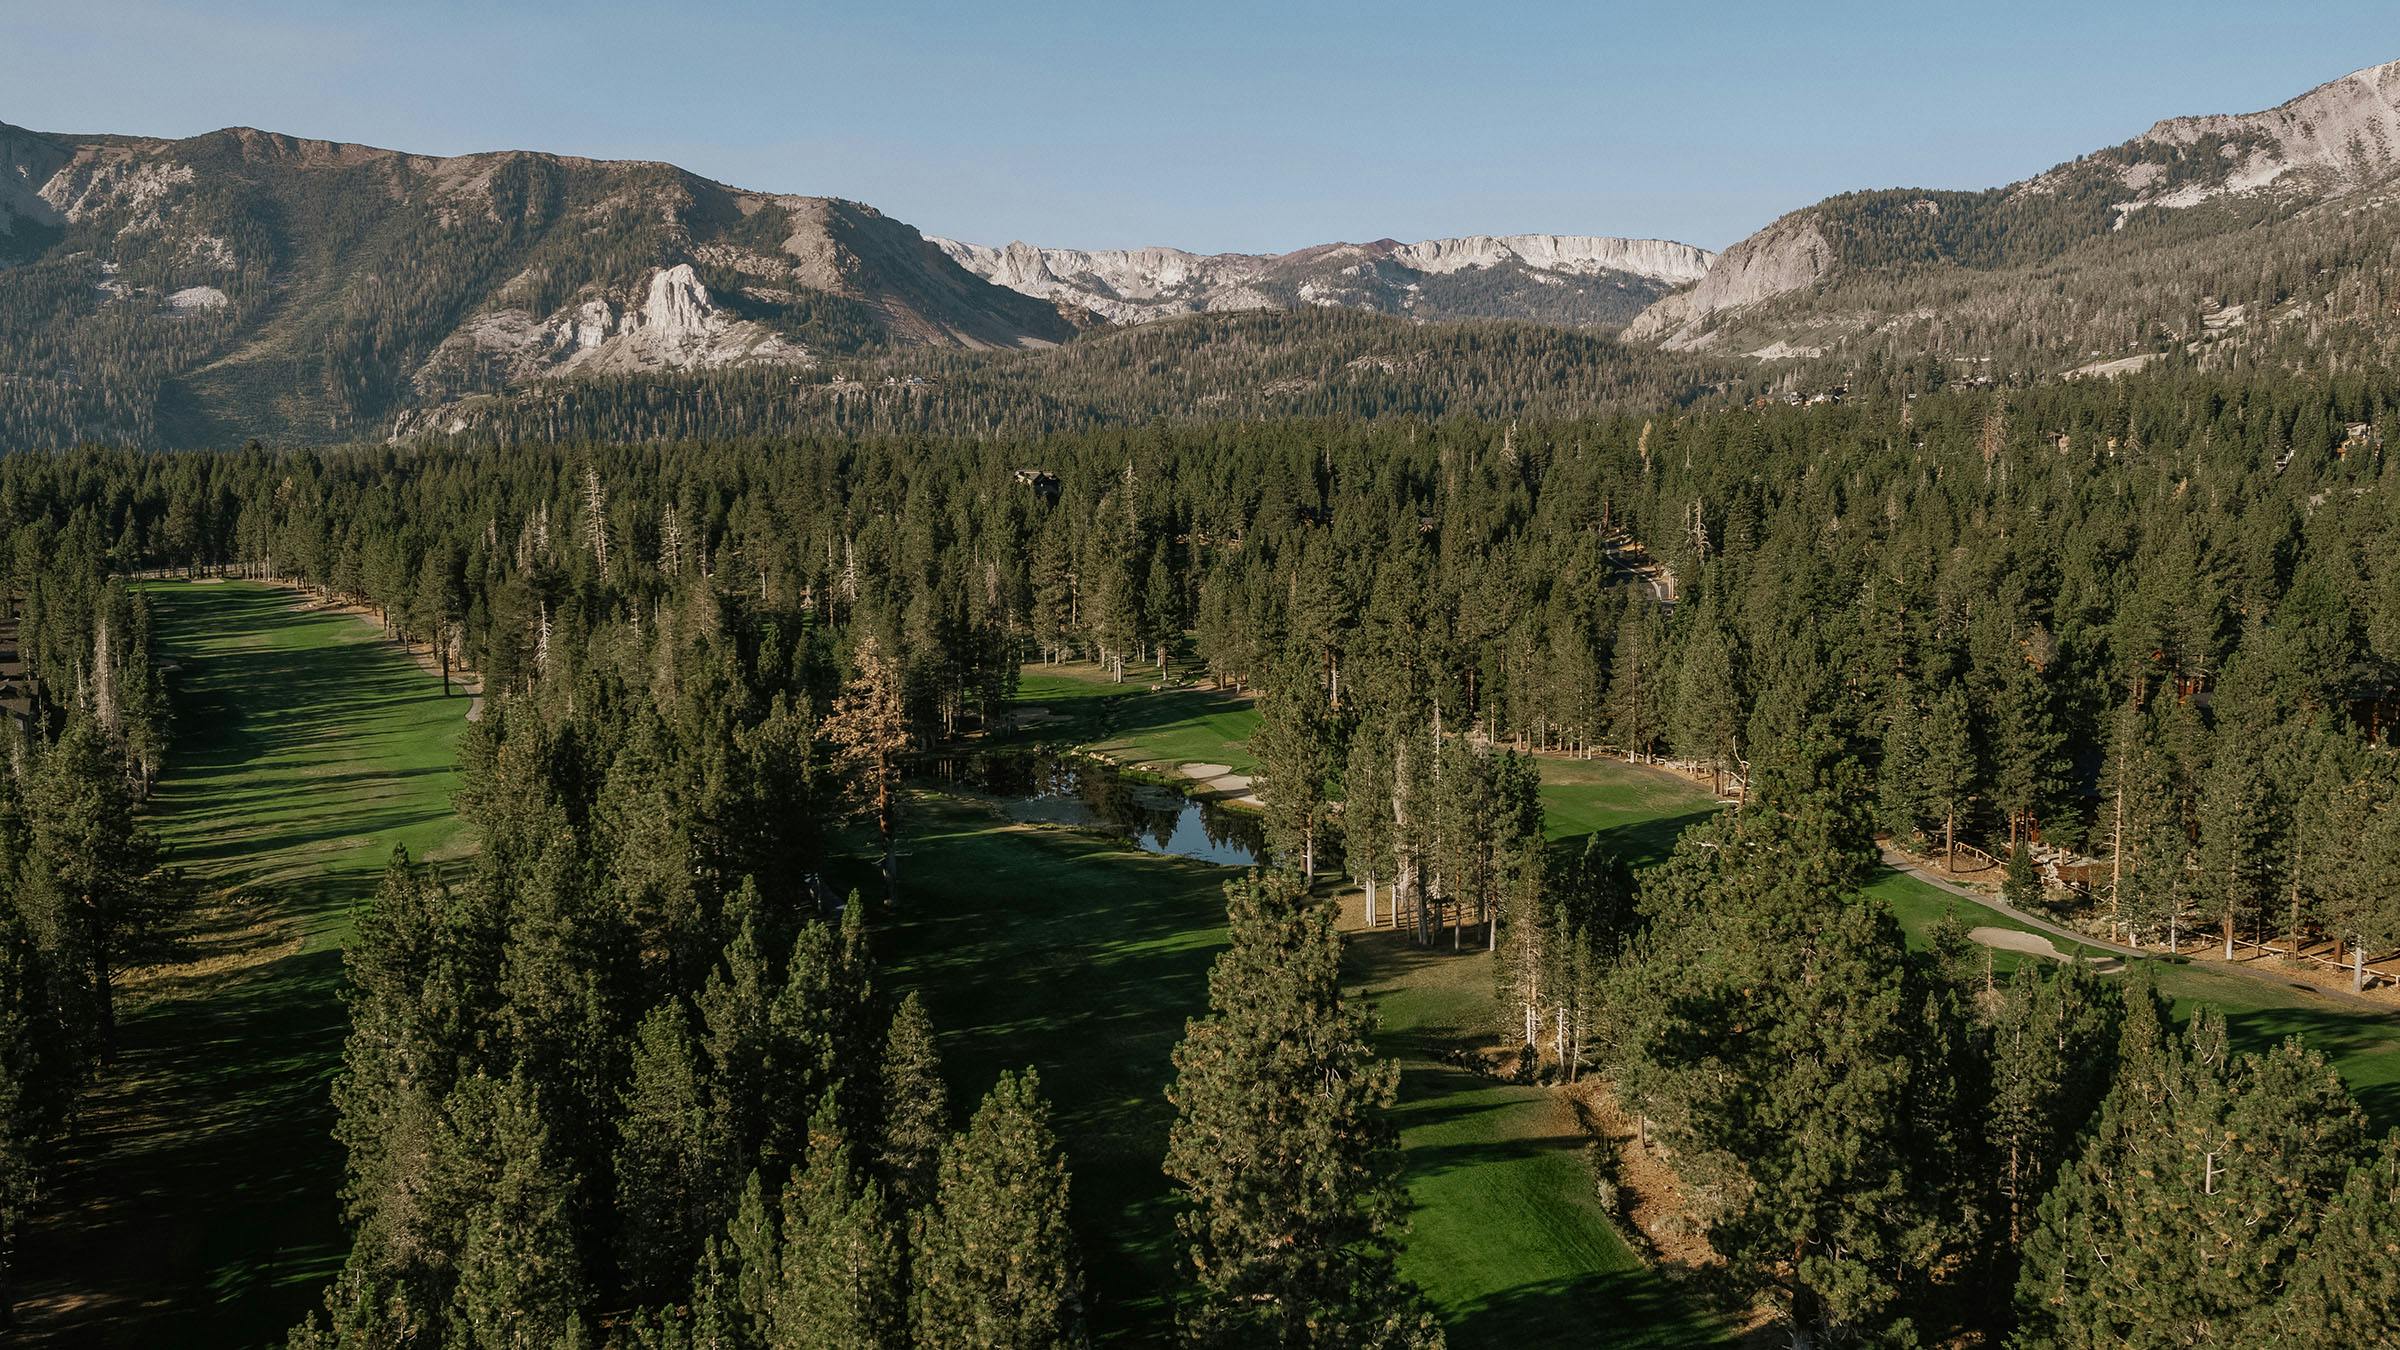
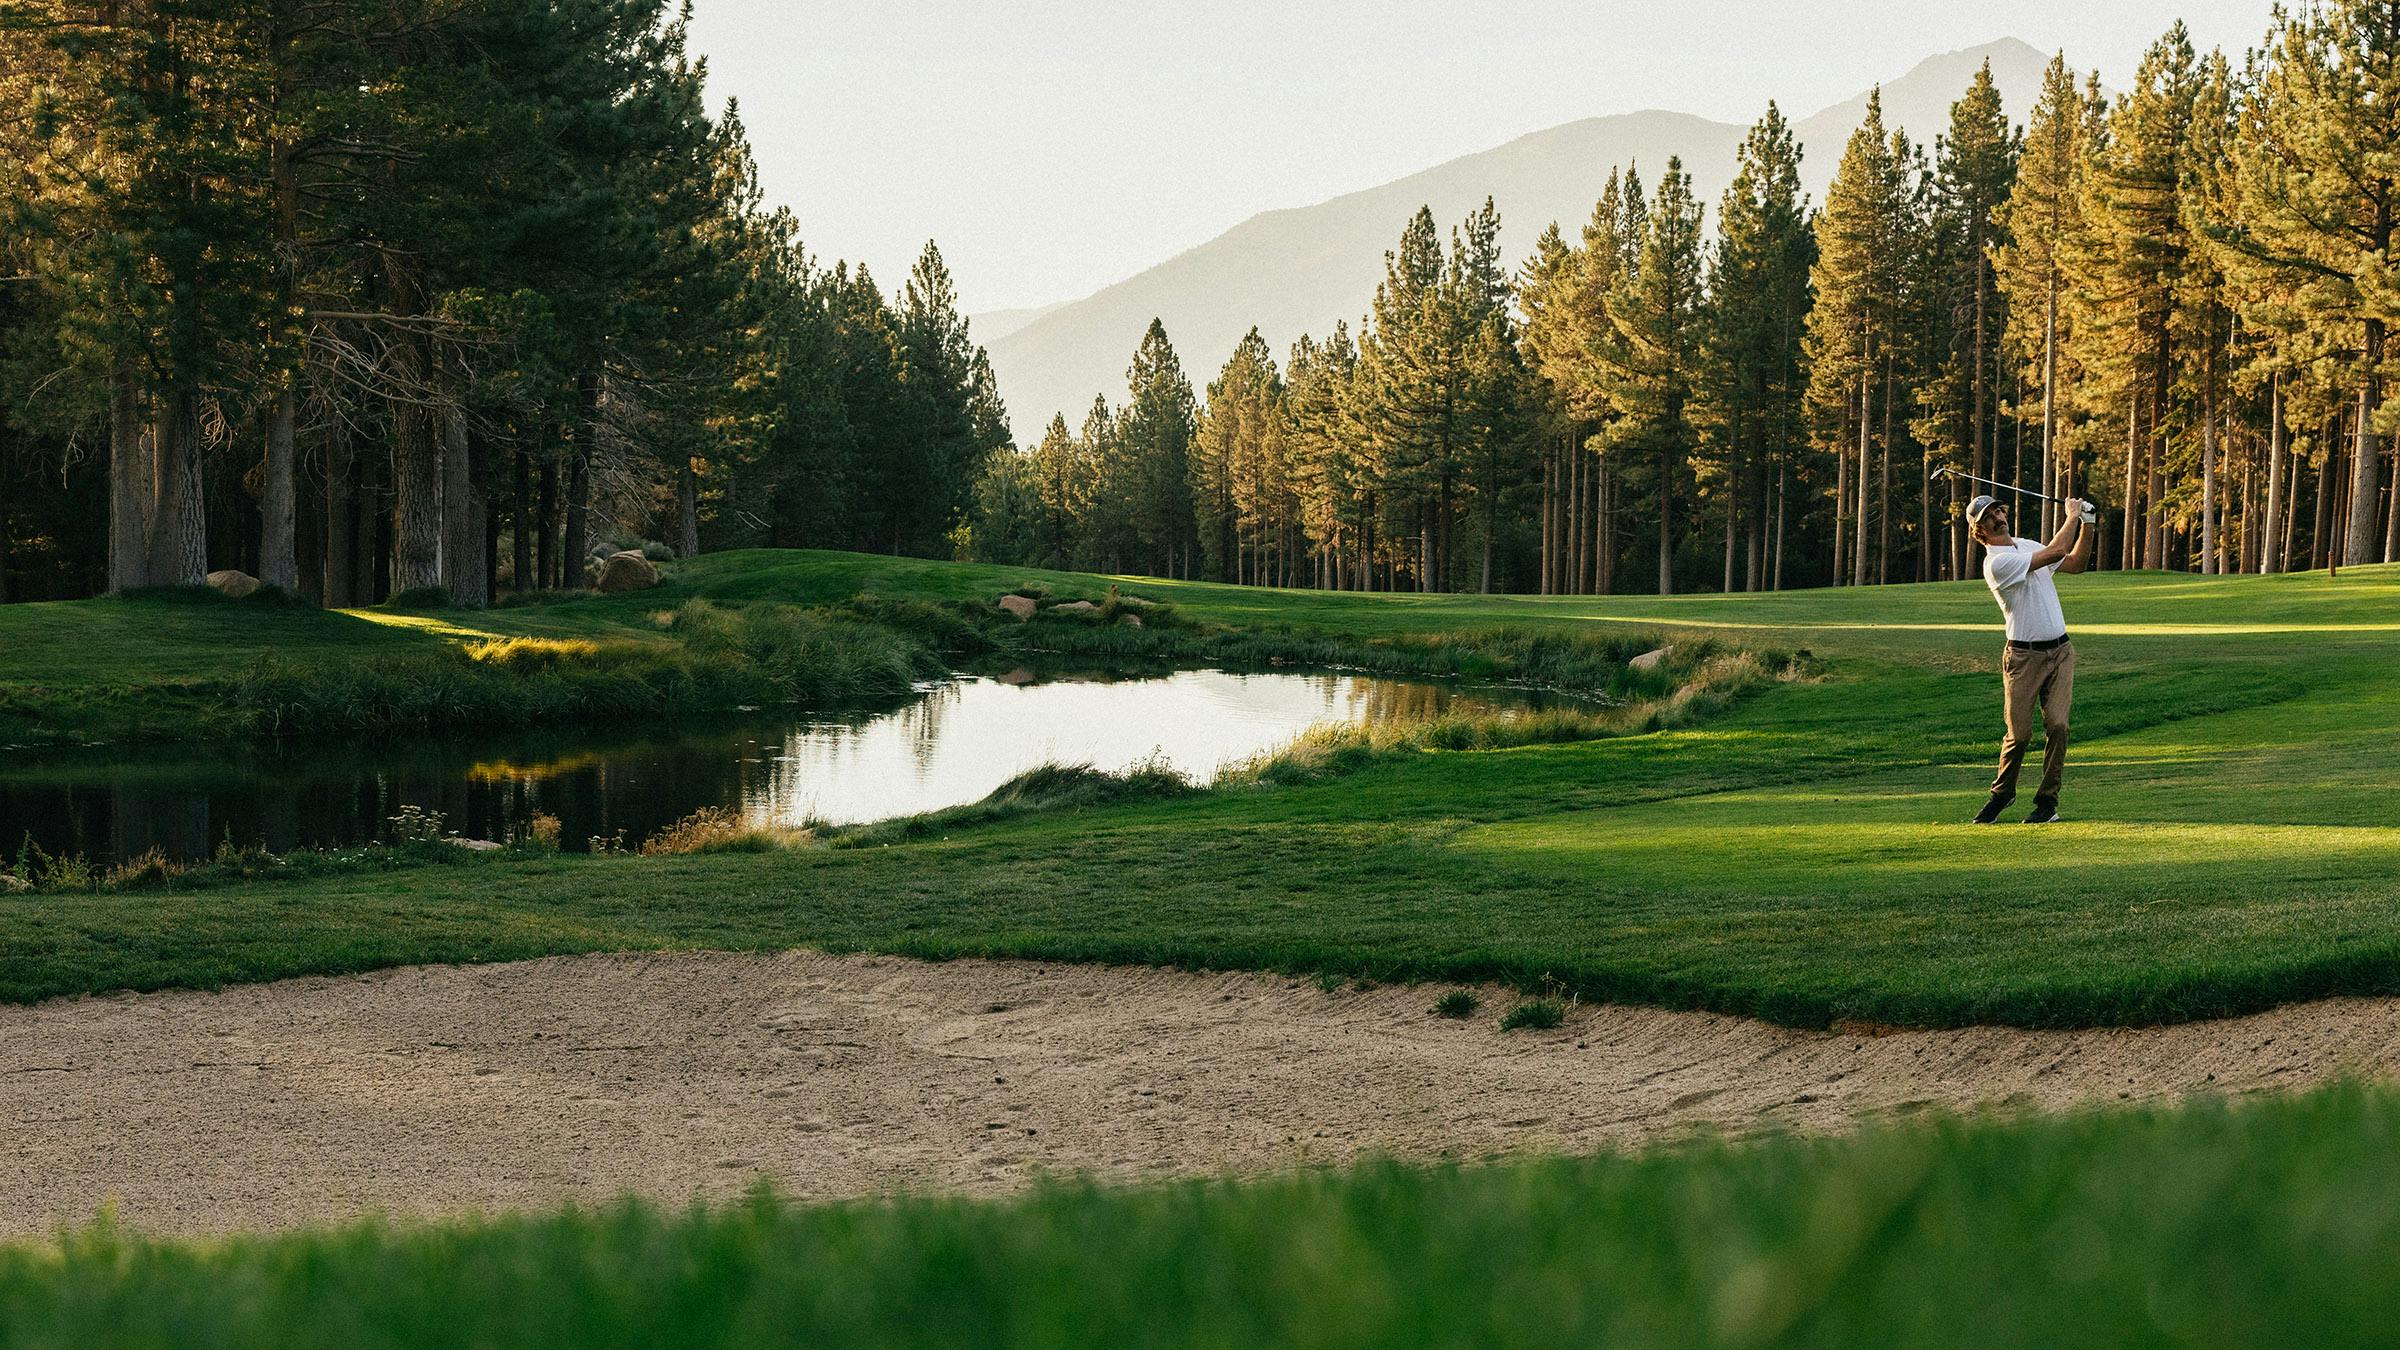
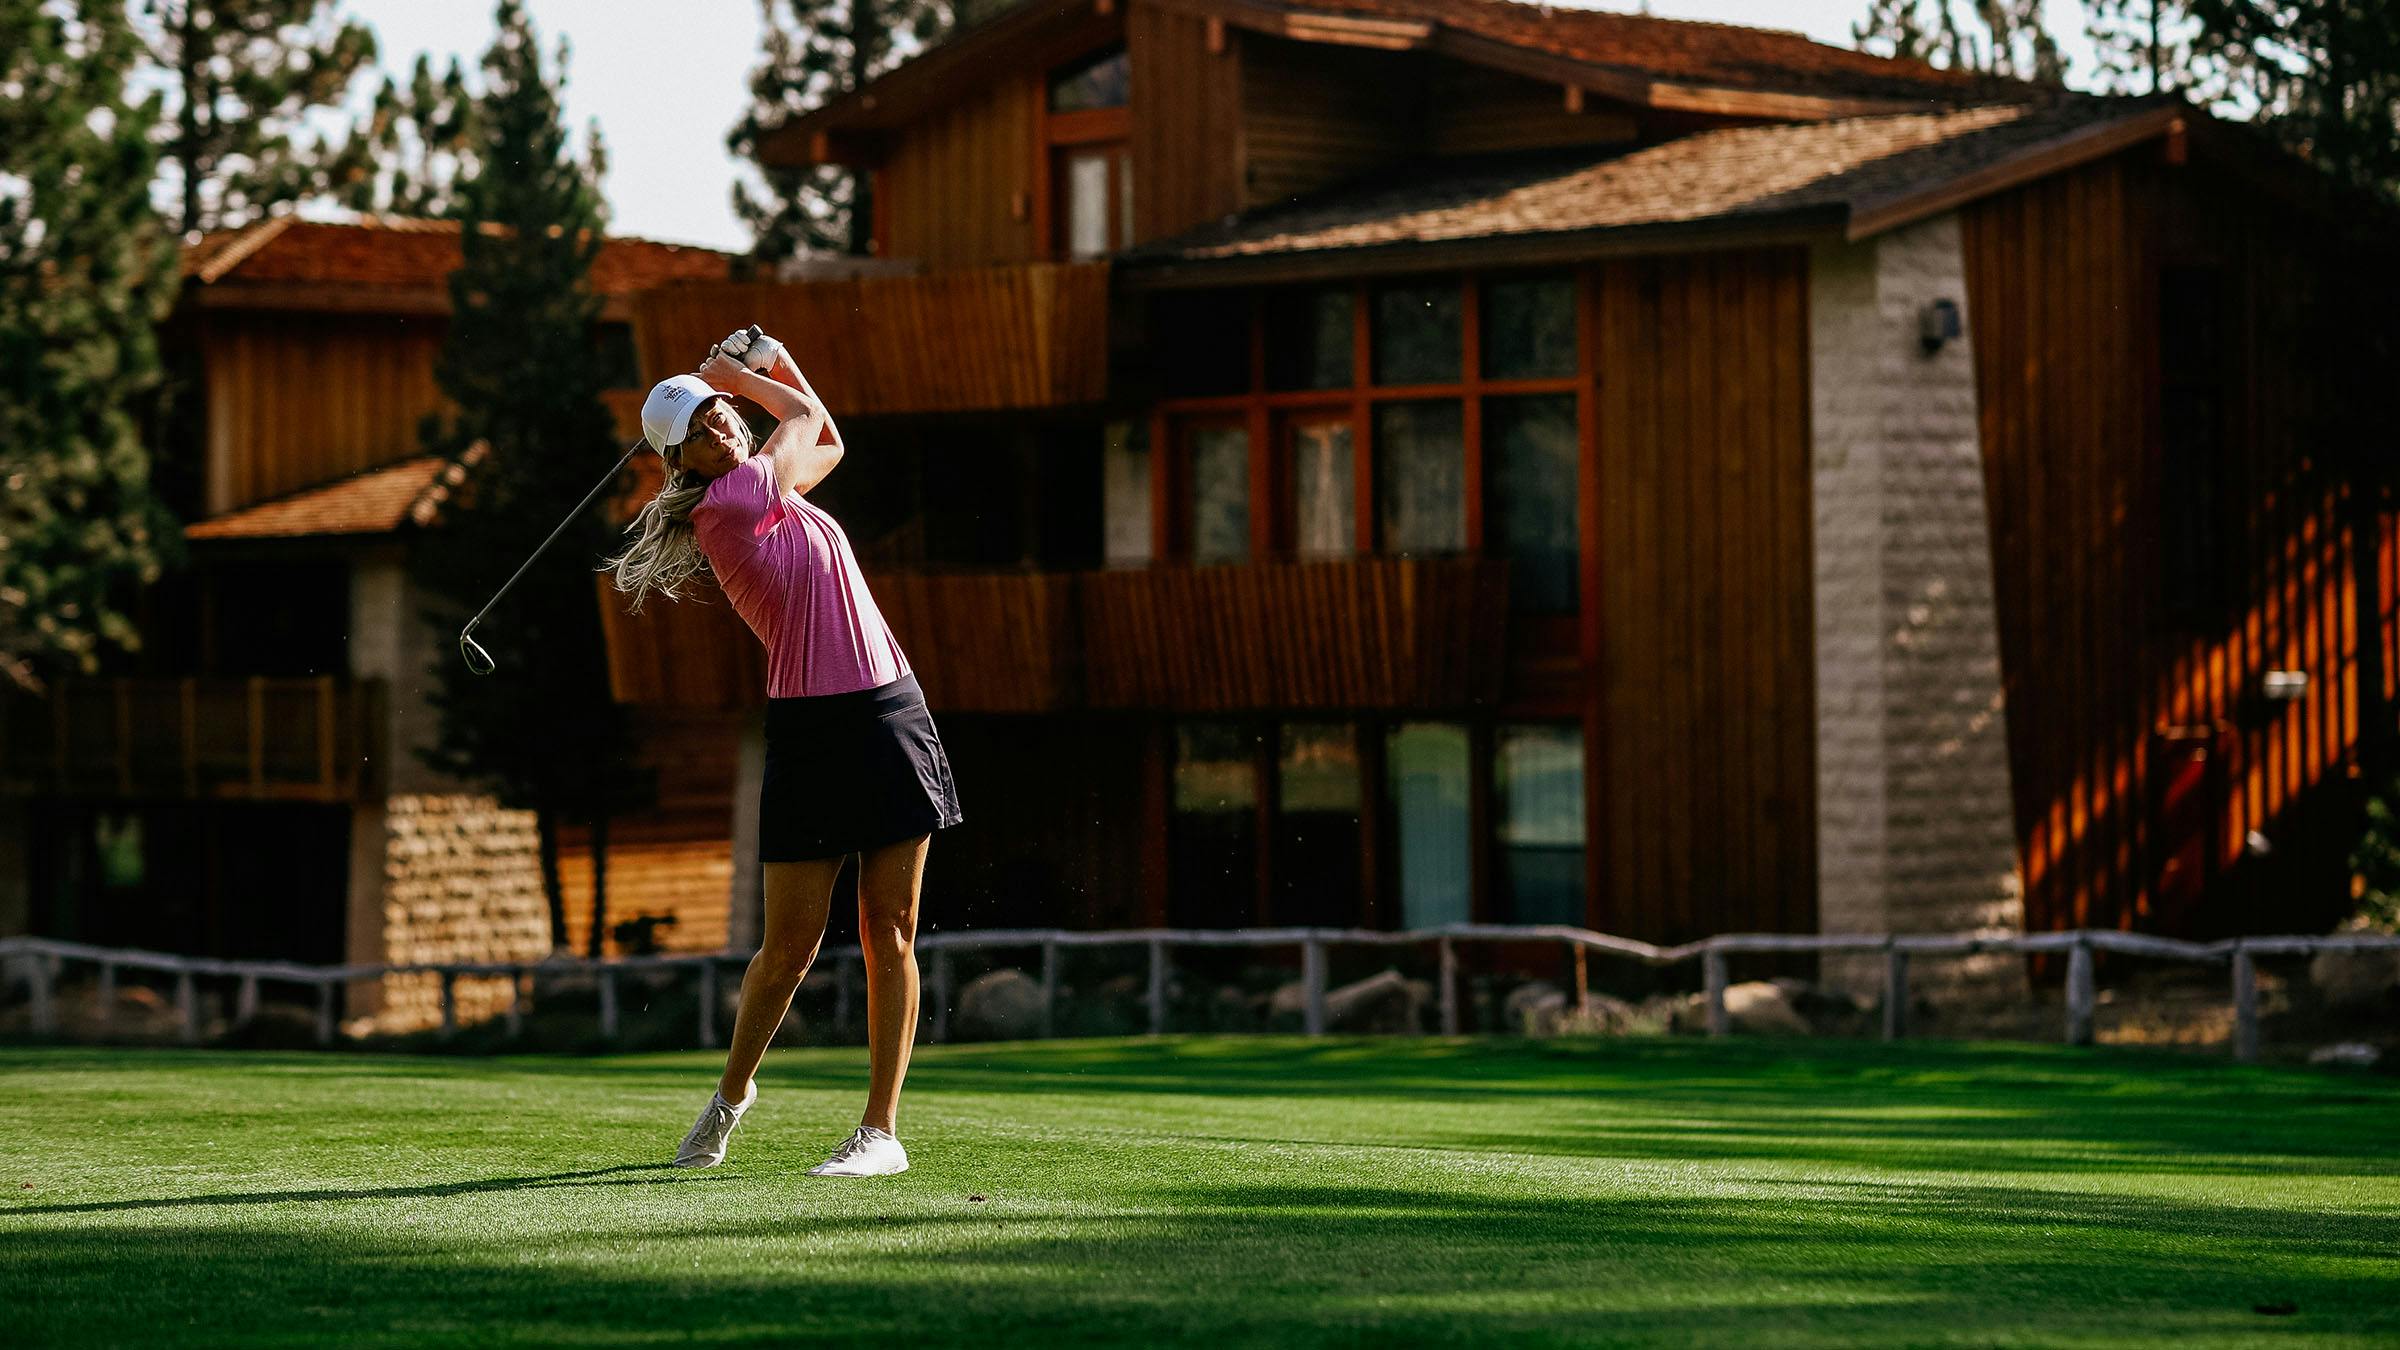
Pristine lakes, emerald fairways and stunning mountain views – golf at Sierra Star is a deep immersion in the majesty of the Eastern Sierra. Our 18-Hole Championship Course plays to a par of 70 and is open to the public. Featuring rolling hills, tree-lined fairways and some of the most breathtaking views of any course in North America, our course sits at an elevation of about 8,000 ft., meaning your ball can fly a long way. While it can take a few holes to dial in your yardages, just imagine telling your friends that you hit a 150 yard pitching wedge.
Hours
Address
Sierra Star Golf Course2001 Sierra Star PkwyMammoth Lakes, CA 93546See on mapContact
760.924.GOLF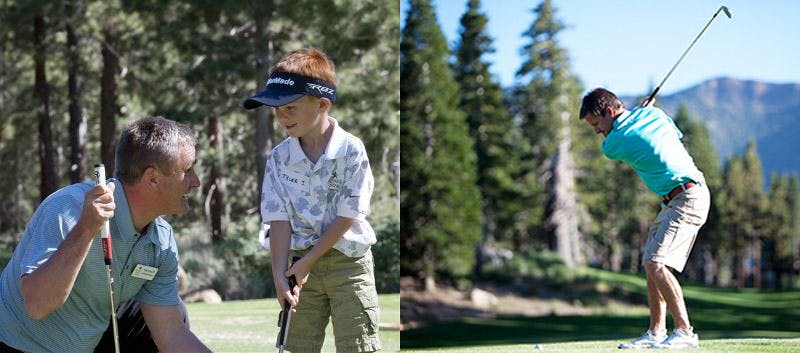
Golf Passes
Play the first and every subsequent 7th round free with our best-selling Sierra Star Card, and enjoy discounted rounds all season long. For our most frequent players, we offer season passes that will get you on the greens all season.
Green Fees
Sierra Star Golf Course offers 18-hole and 9-hole tee times. During our high season, tee times begin at 7:00 AM and twilight rates begin at 1:00 PM. Low on time? We offer 5 Holes after 5:00 PM for $40, a great way to get a little Sierra Star magic in before the sun sets.

Specials
Discounts and weekly specials are offered throughout the summer. Deals include free afternoon golf for kids, Locals Wednesday, and discounts for Ikon Pass holders and Mammoth Lodging Collection guests.

18 holes, par 70
Yes. Men are required to wear collared shirts.
Restrooms are located at the pro shop, next to the 5th tee box, at The Divot, and near the 15th green.
No, but we have a short game facility.
10-15% or 1–2 clubs further. The higher you hit the ball and faster your swing speed, the more of a difference you’ll see.
6–8 on the stimpmeter early in the summer, 9–11 later in the summer. But don't let the slow-ish speeds fool you, our greens make up for it with a lot of slope.
We are located at 8,000’ and our weather can vary radically during the course of the season and even during the course of a day. Highs in June average 60–70 degrees with lows usually in the high 30's. In July and August high temperatures usually fluctuate between 70–80 degrees with lows int he high 40's. Be prepared – snowstorms have been known to hit as late as July and as early as September. Packing a light windbreaker can come in handy with early morning tee times and during the summer when the monsoon thunderstorms are present.
Deer, bears, eagles and ravens are all known to frequent the course. And be prepared for the squirrels to chirp at you during your back swing.
| Product | Price through June 9 | Price June 10 & After | |
|---|---|---|---|
| Sierra Star Card | $199 | $249 | |
| 24/25 Ikon Pass Holder Sierra Star Unlimited Pass | $1,249 | $1,499 | Call 800.MAMMOTH to purchase. |
| 24/25 Ikon Pass Holder Sierra Star Unlimited Couples Pass | $2,029 | $2,269 | Call 800.MAMMOTH to purchase. |
| Sierra Star Unlimited Pass | $1,349 | $1,599 | |
| Sierra Star Unlimited Couples Pass | $2,129 | $2,369 | Call 800.MAMMOTH to purchase. |
| Sierra Star Cart Pass | $275 | — | |
| Sierra Star Cart Couples Pass | $375 | — | Call 800.MAMMOTH to purchase. |